Discover Cheap Ways for DIY Cubicle Decor
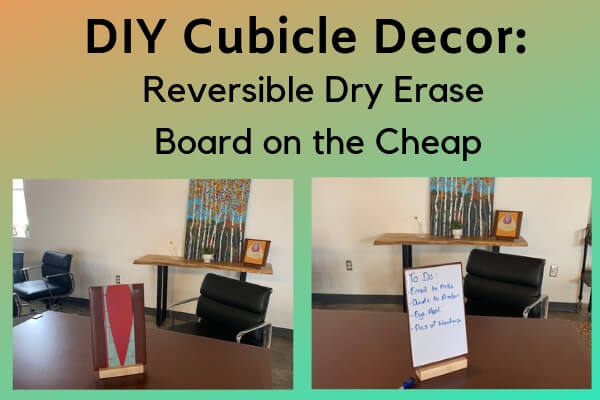
Ready for a DIY cubicle decor project?
One way to reflect your personality is a DIY cubicle project done by YOU! On our office must have list we an ergonomic office chair, good light, & office plant, but you also need pieces that are all you! We like pieces that are multi-purpose. For example, a piece of art that is also a dry erase board. That is our first DIY cubicle project. Whether you use the dry erase board for a to do list or to let co-workers know you are away from your desk, they are handy!
DIY Dry Erase Board
We are making a reversible dry erase board. It is art on one side & dry erase board on the other side. It is light enough to hang or your can make it freestanding.
Items Needed:
- Old Book Cover – The book cover will be the frame for your art. You are also going to apply the dry erase laminate on the reverse side.
- Dry Erase Laminate – We brought ours for under $5 for a roll of it at Walmart. This is more than you need.
- Colorful Laminate Adhesive Contact Paper | Left Over Wall Paper | Favorite Quote – This is for the non dry erase side of the cover.
We purchased our covers at Scraps in KC. The store is full of craft items to upcycle. You never know what you are going to find there. No visit is ever the same!
We like these book covers with the framed leather look. They would work in a modern or industrial style office space. And, they were 25 cents apiece!
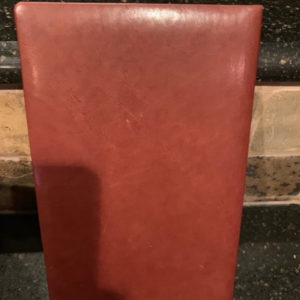
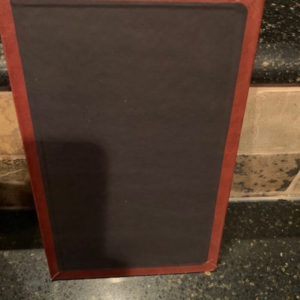
For the brown vinyl side, we utilized some mid-century looking adhesive vinyl we had extra. You could go with extra contact paper. a favorite quote, picture, or scrap wall paper. We love left over wall paper. We freshened up an old desk with wall paper scrap. We had adhesive on our piece of art. So once we cut it down, we could apply it. You could even do double stick tape. With such a small piece, you start with the corner & spread on slow & steady. For an earlier project, we created a video applying a cling to a bigger surface. It is the same principle, just much easier working with the sizes in this project.
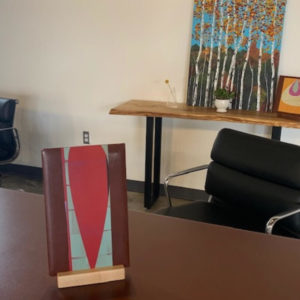
Below you will see the 2 pieces we created. One in the front & the second piece on the top right.
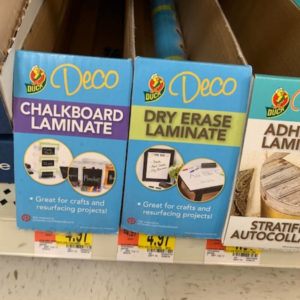
Deco Dry Erase Laminate
For the dry erase board, we purchased ours out Walmart. It is the Deco Dry Erase Laminate. With 2 kiddos, I went with the roll (20″ wide by 12′ long) as I am sure I will use more for future endeavors. You can find this in the kitchen section. In the same section, there were lots of cool adhesive shelf liners. We also picked up some floral Pioneer Woman adhesive. We thought that could make some cubicle wallpaper by applying it to cardboard or foam board.
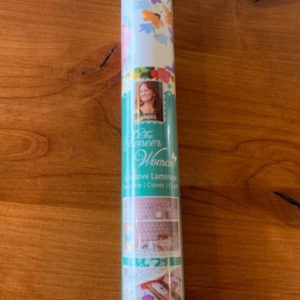
Then, we cut the size we needed for the back or our leather cover, applied it and, BAM all finished.
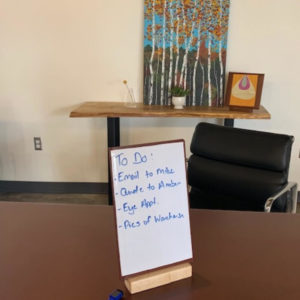
Here is it hanging on Grid Wall.
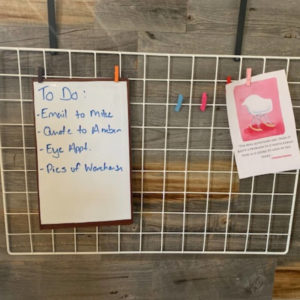
We like that this is light weight & easy to take to a meeting. Love that it doubles as art! It should be easy to attach magnets for a magnetic board. Much like the framed moss that is multi-functional by provide sound absorption & air purification while still being beautiful!
No time for DIY, here is our dry erase goal board ready to go!
Be Kind Printable
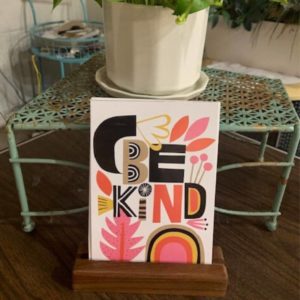
As a second, DIY cubicle decor project, we paired one of our wood trays with a free Be Kind Printable from Hallmark. Thank you Hallmark! We printed this on wonderful picture paper from Amazon. With our printer, we printed at 50% to get the 5″ x 7″ size. We cut out the picture and taped it to some foam board. BAM!, we love the color and message!
We would love to see what you create for your DIY cubicle decor. Please e-mail us a picture & we will send you one of our wood trays to make it freestanding: nikim@greencleandesigns.com
Office Design Tips
Join our email list to receive our 5 Best Office Design Tips!


Leave a Reply